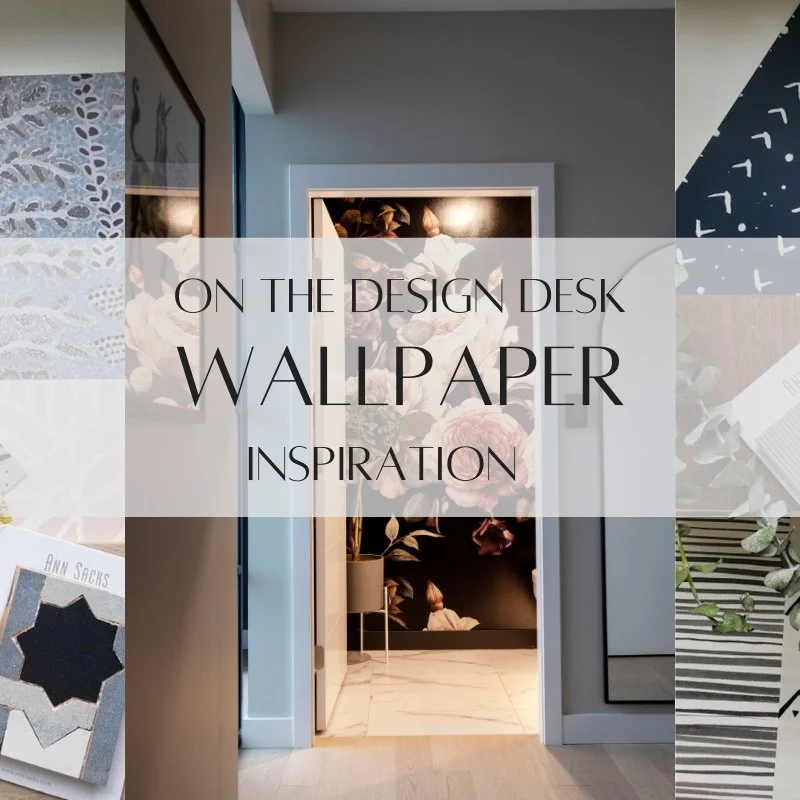
MAKING A SMALL BATHROOM FEEL LARGER

These days with the flipping market having its moment renovating houses, and new buyers watching those 30min home reno shows, people are out there thinking—not a problem, we can turn this old bathroom into a “SPA” in just one weekend.
Understanding what it truly takes to form a spacious bright bathroom is crucial before getting into a renovation. A typical bathroom these days can cost anywhere from 20K- 60K for a full renovation. Follow these five key design philosophies to build your own light and bright bathroom space.
1. SPACE PLANNING:
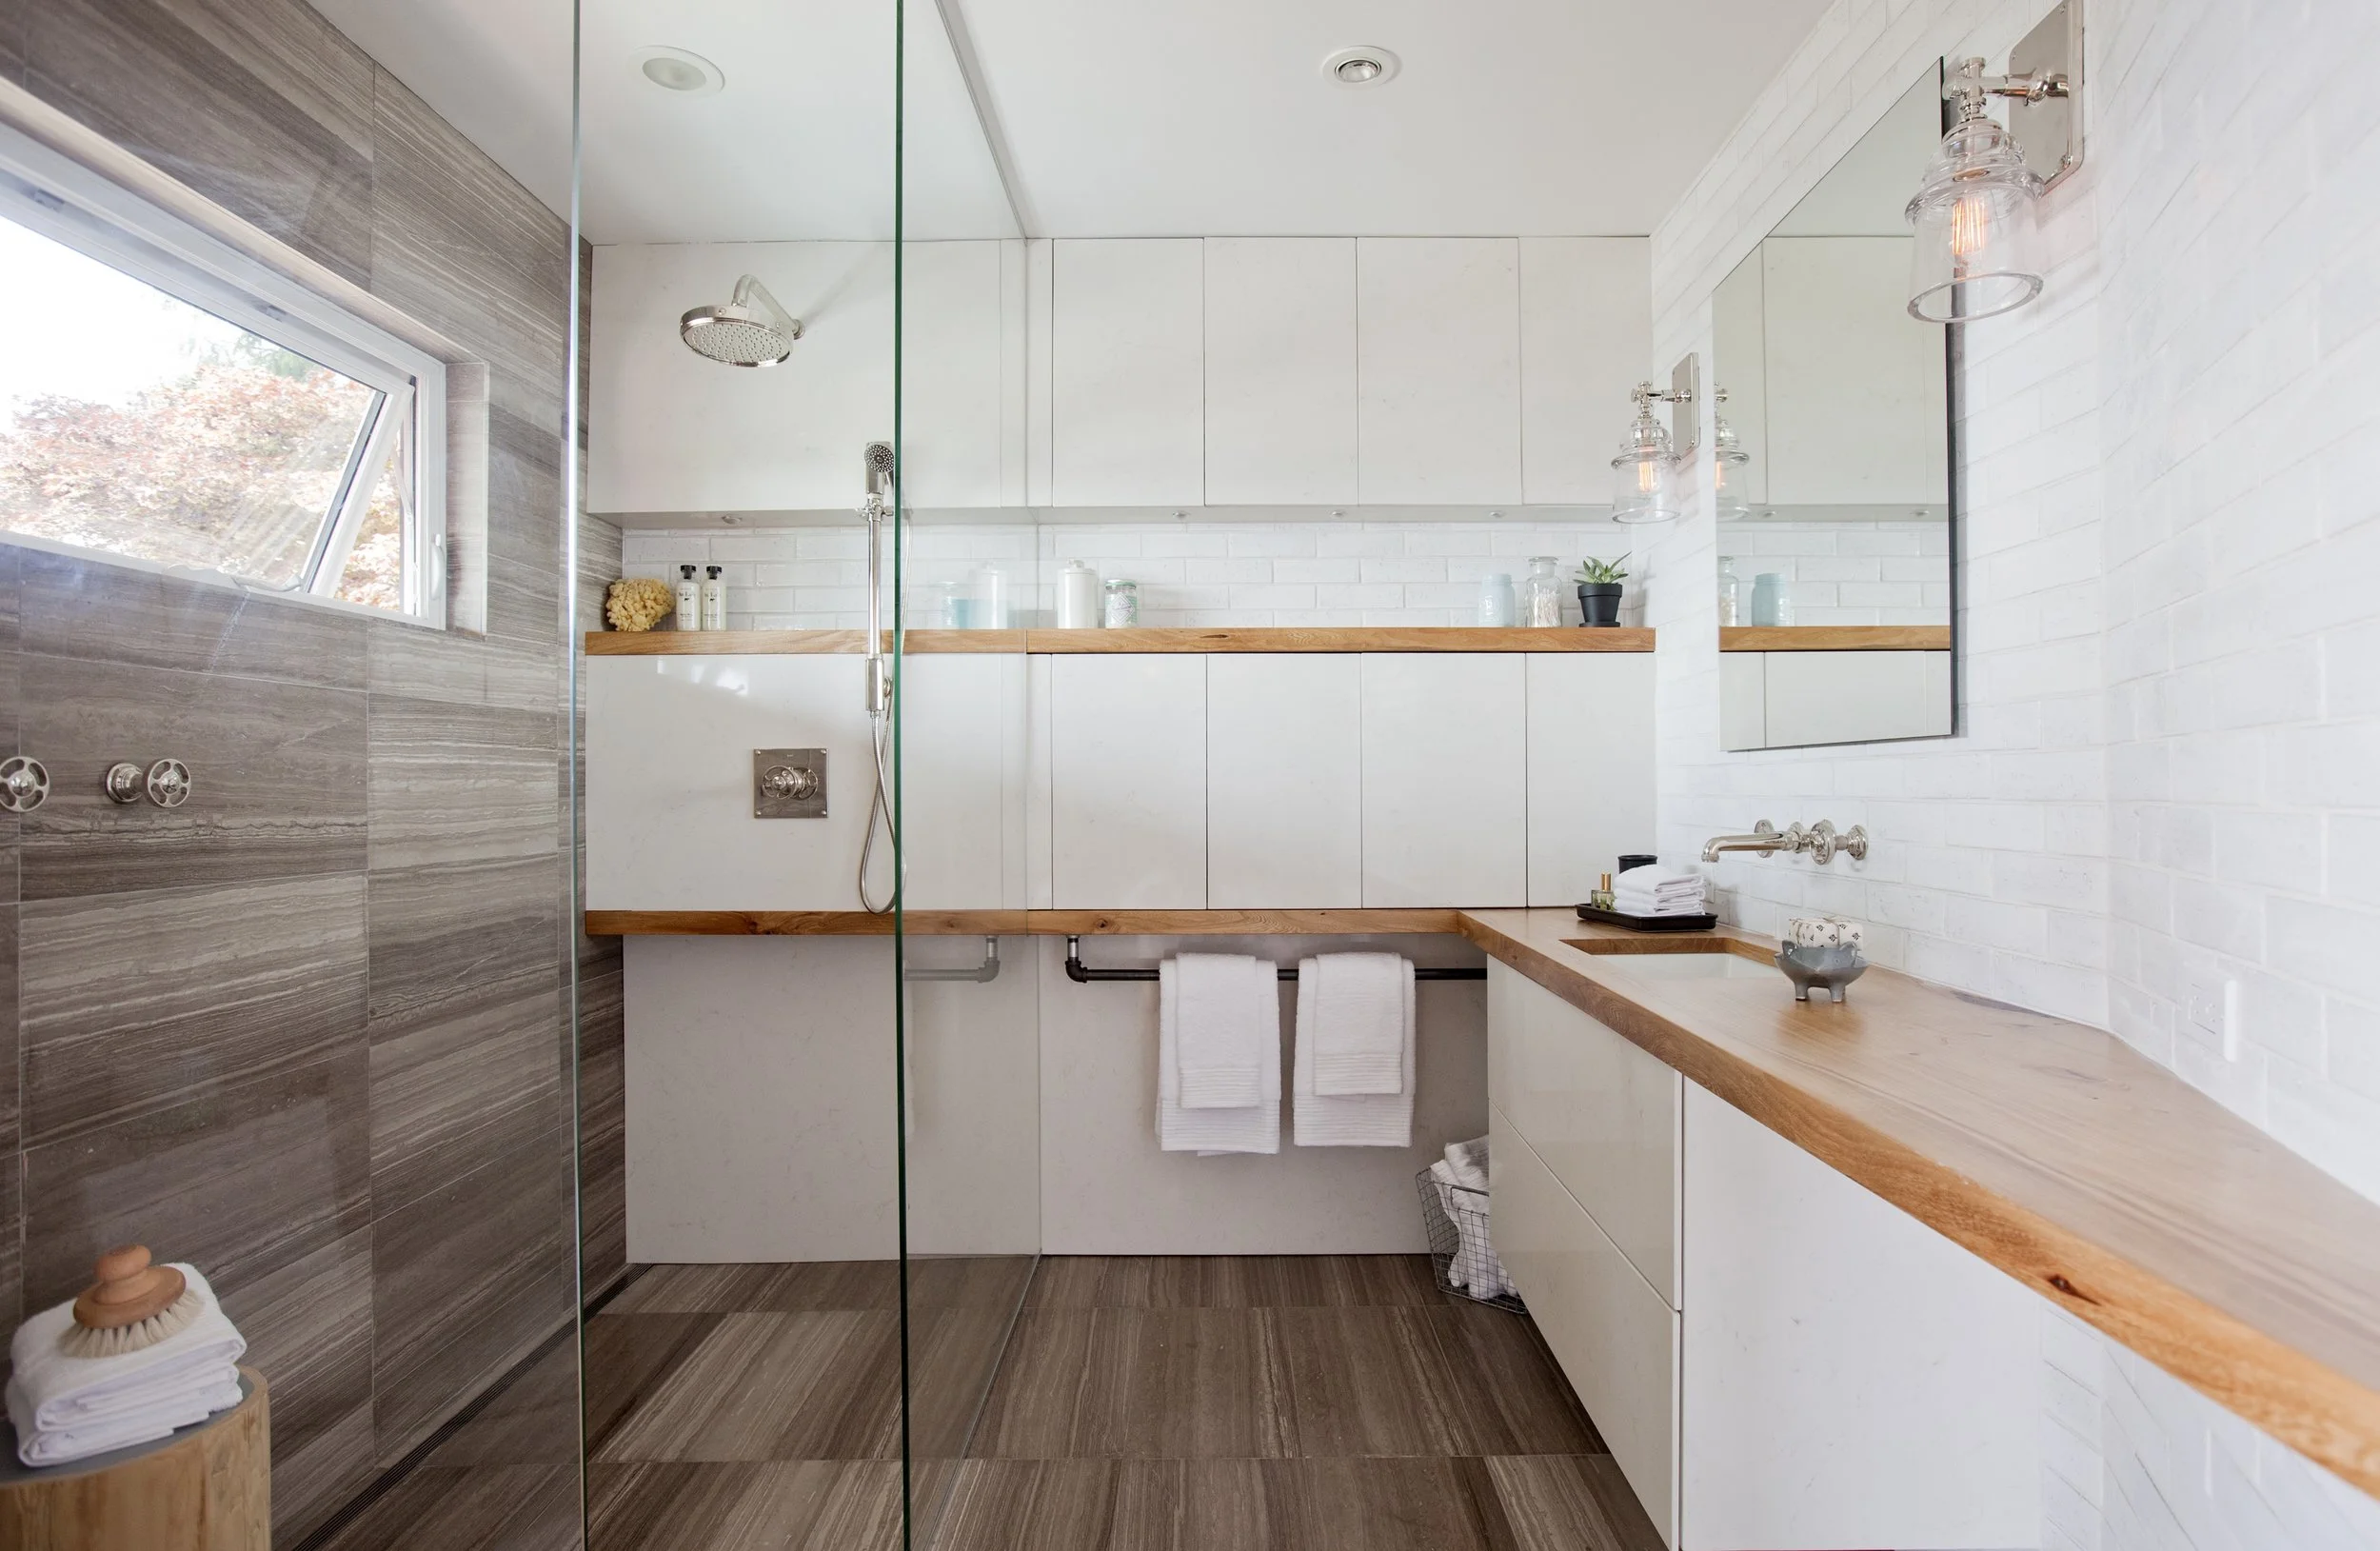
Bay View Drive’s bathroom renovation project was down to the studs when we first walked into the space. As soon as you walked through the bathroom door, you would look directly at the toilet. Because this bathroom was in a crawlspace, we saw an opportunity to relocate the toilet so that it wasn’t the first thing you’d see once stepping in.
To bring in light, we added a transom window (by Long Life Windows & Doors) in the shower, to take advantage of the view. Because the bathroom looks out at mountains, trees and water, we opted for a clear glass glazing. The window is strategically placed so that the homeowners can look out, watch the ferries, and see wildlife, but high enough to maintain some privacy. The window was also placed to shine light through to the vanity section of the bathroom, and light up the perfect spot to pluck that stubborn hair, shave, and apply some lippy!


2. LAYERING TEXTURE + PATTERN:
In a small space, most tend to make everything neutral, the same tone, same colour, and even the same texture. When looking at the colour palette and finishes for this bathroom, the young and professional family thought this combination would be far too busy for this space. The thought of installing two different tiles, Caesarstone quartz, wood, paint, and two metal finishes felt like too much When working with textures and patterns, you need to think about where you are applying these finishes. We wrapped a 12”x24” natural stone on the floor and up one wall in the bathroom. This detail pulls your eye across the space, up the wall and to the window. Texture adds depth to a space, while keeping the colour blocking together such as the hand glazed subway tile, white grout, and Caesarstone Quartz on the first wall you see when you walk in, is what helped to create a seamless space. Notice how this wall is packed with storage.

3. THINK OUTSIDE THE DESIGN BOX:
Yes, we cladded the fronts on the cabinetry and vanity in Caesarstone quartz. It’s perfect for a wet space like a master bathroom. Playing with materials such as reclaimed wood, like this Elm from the Richmond Olympic Oval crafted by a local craftsperson (Mth Woodworks) adds unique features to your personal space.
4. : DRAW THE EYE:
The wood was treated and fit for a wet space such as a shower, countertop, and even a shelf. Wrapping the material from the vanity all the way along the storage wall and into the shower also pulls your eye from one side to the other. This makes the space feel much larger and spacious than it really is. We wanted storage in the shower and by breaking up the wall to add in a cubby, we ran the open unit the whole length of the wall. When standing at the vanity, it adds extra countertop surface and storage, but it also pushed the wall back and adds in a layer of additional moving space around you.


5. GO CUSTOM, IT’S WORTH IT:
Seamless shower glass and a linear drain makes for a large and open shower. Both of these details take a lot of planning and the correct project. With the mapping out of the natural stone floor tile, the drain, and the positioning of the floor to ceiling custom glass unit, we were able to create the illusion of the floor being seamless and have no slope to it. Instead of a drain in the centre of the shower, we installed a linear drain to the left. This will keep water away from the rest of the bathroom, but also help with that overall clean and open feel in the bathroom.

Take a look at the full bathroom renovation of the Bay View Drive project!
Leave a comment below, let us know what you think of this bathroom and what design details you have used in your bathroom renovation projects.